Today we went to my parent's house for lunch and I made Bamsey cake. I first had it when I was on NET and our host mom made it for breakfast for us. It's really just like monkey bread, but I'd never had it before. Our host mom (Mrs. Bamsey) gave us the recipe, but when we asked her what she called it, and she said she didn't have a name for it. So we named it Bamsey cake. But more on Bamsey cake later....
The Easter bunny also visited my parents' house. Unfortunately, Eliza's Easter basket hadn't arrived yet, so we had to improvise with her Halloween pumpkin. :)
The Easter bunny also visited my parents' house. Unfortunately, Eliza's Easter basket hadn't arrived yet, so we had to improvise with her Halloween pumpkin. :)

But Eliza got the idea right away. As soon as she saw the pumpkin, she remembered that candy was supposed to go in there and was very excited to go find some eggies!
Mike & Joyce came over to my family's house for Easter dinner. We had some great food and great times! It was a lovely day.
And now back to Bamsey cake!
Preheat oven to 350F. Grease a bundt pan. You can sprinkle 1/2 cup chopped nuts into the bottom of the pan if you like. Place 2 packages of Pillsbury grands cinnamon rolls inside standing up (see below).
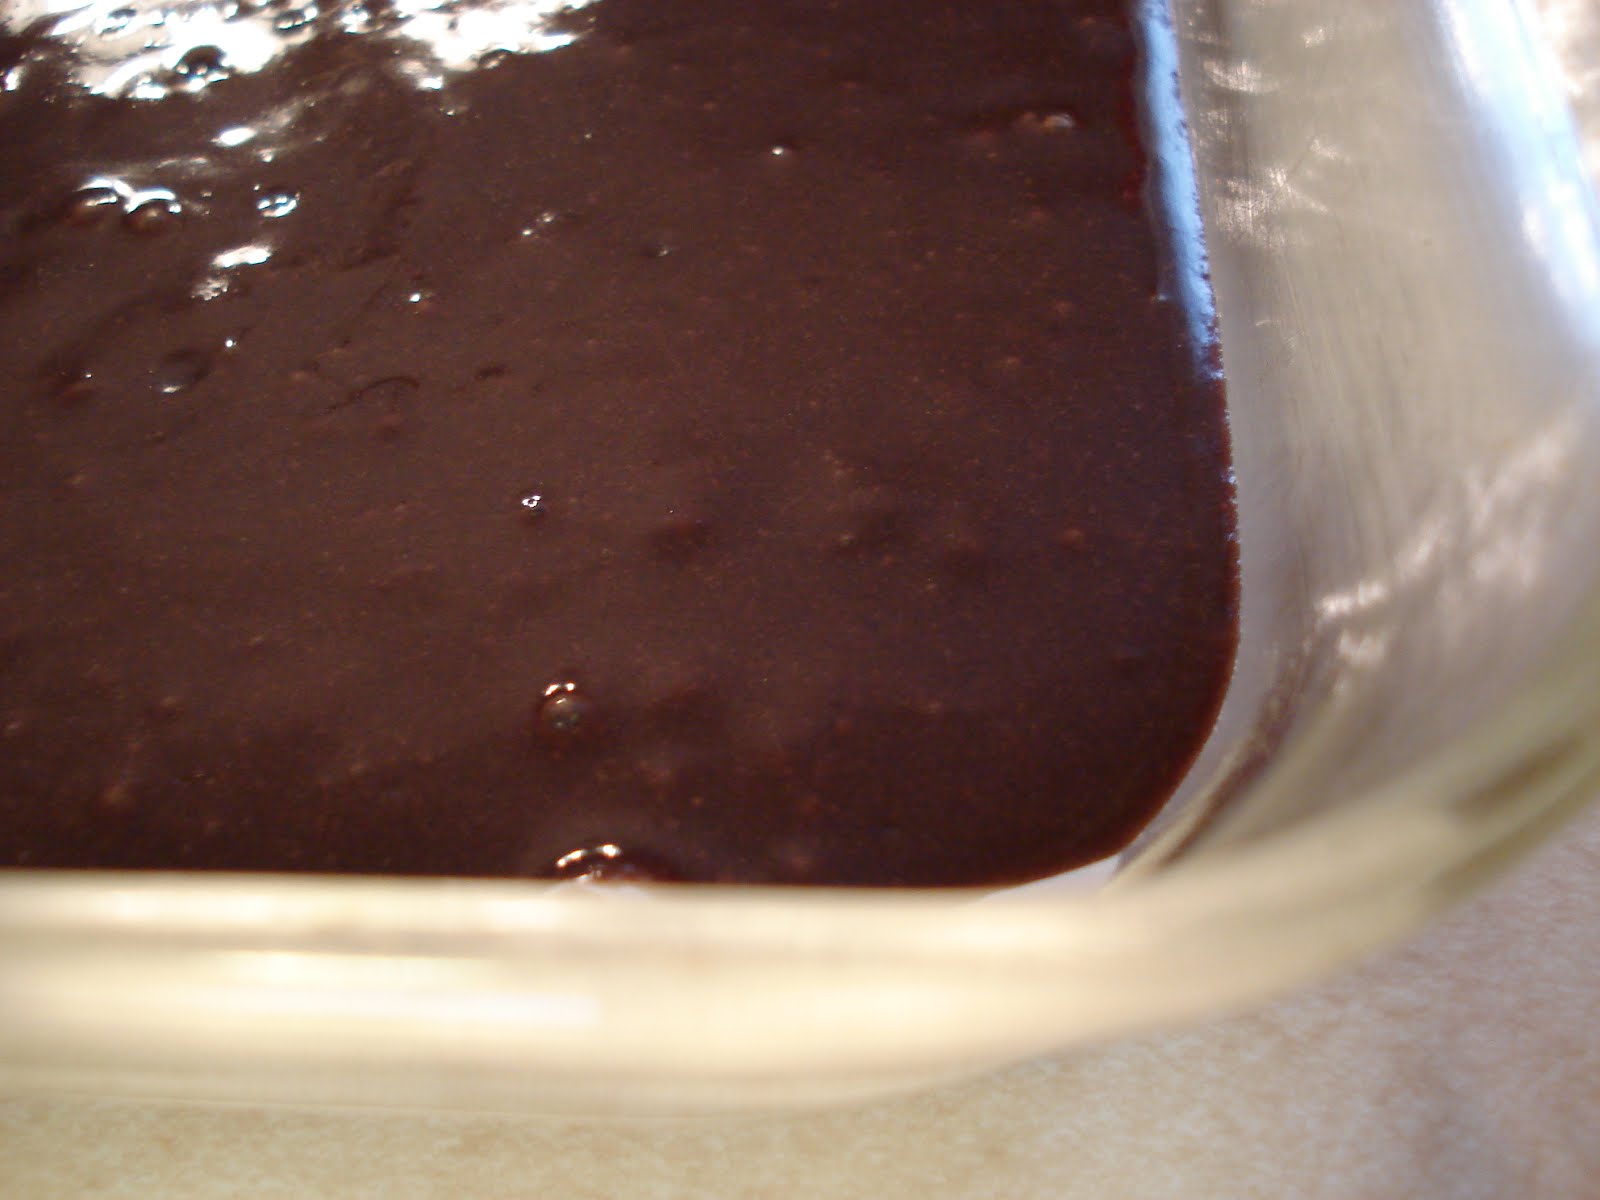
In a medium saucepan, melt 1/2 cup vanilla ice cream, 1/2 cup butter, 1/2 cup white sugar, and 1/2 cup brown sugar. Boil these ingredients together for 1 minute and then pour them over the cinnamon rolls.
Mike & Joyce came over to my family's house for Easter dinner. We had some great food and great times! It was a lovely day.
And now back to Bamsey cake!
Preheat oven to 350F. Grease a bundt pan. You can sprinkle 1/2 cup chopped nuts into the bottom of the pan if you like. Place 2 packages of Pillsbury grands cinnamon rolls inside standing up (see below).
In a medium saucepan, melt 1/2 cup vanilla ice cream, 1/2 cup butter, 1/2 cup white sugar, and 1/2 cup brown sugar. Boil these ingredients together for 1 minute and then pour them over the cinnamon rolls.


Bake at 350F for 30 minutes. Remove from oven and let sit for 1 minute. Then place a plate over the top of the pan and flip the cake over.


Allow to cool for 15 minutes longer and enjoy! So-freaking-yummy!

Love,
K
K